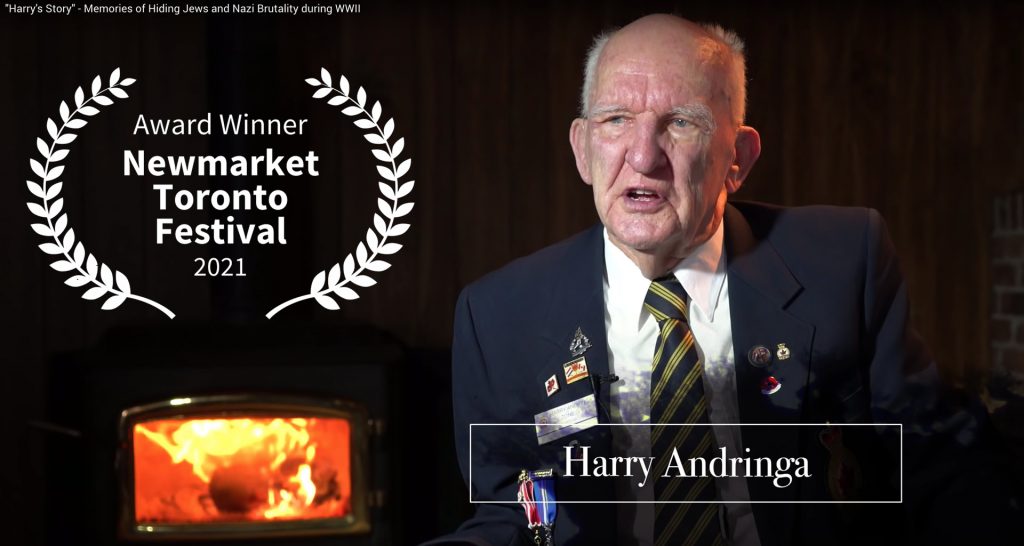
Harry’s Story is a documentary about the childhood memories of Harry Andringa. Harry was only nine years old when Hitler’s Nazis invaded Holland in 1940. His family risked their lives hiding Jews from the German soldiers for years during the occupation. Harry explains living under Nazi brutality and the liberation of Holland by the Allies.
In February 2021, the documentary was submitted to the Toronto-Newmarket monthly film festival. – our first submission to any film festival. The film was entered under the category Best Documentary Short. It won the category and will automatically be nominated for the annual festival. Harry’s Story lives on!
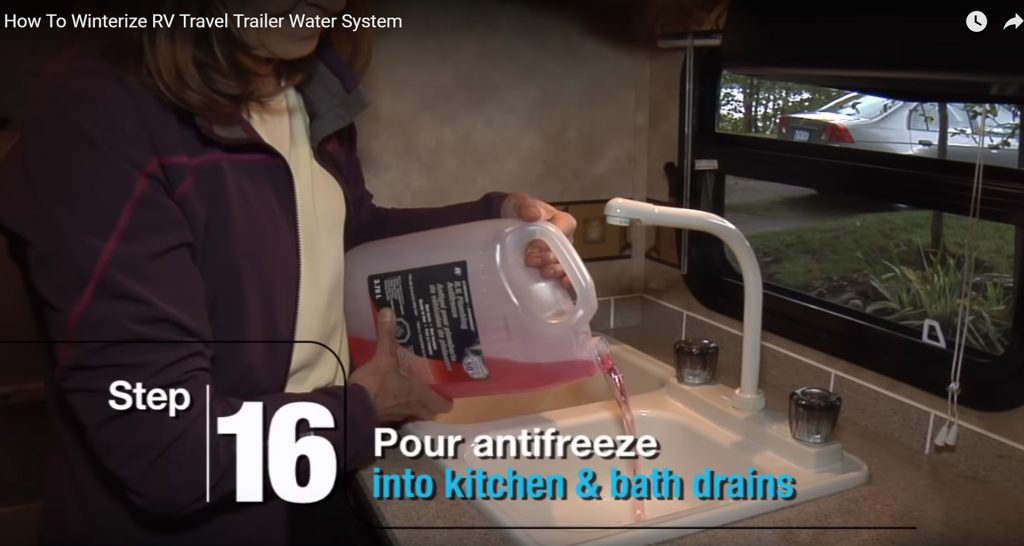
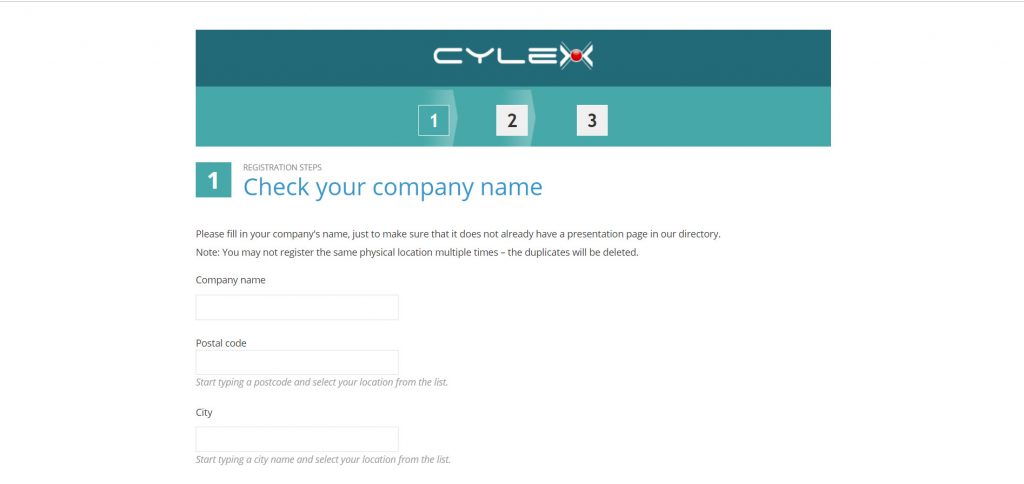
Do-it-Yourself (DIY) videos are a popular medium to educate customers on assembling or using products. Everyone likes to save money. If a DIY product can save a consumer money and it can be explained in video you will have a better chance expanding your customer base. Here are some tips in planning your video to make video recording and editing efficient. An example of a DIY video is “How to Winterize Your Travel Trailer” on YouTube. Note: This video is monetized and is a good example how your time creating a video can be financially rewarding.
Plan Before Shooting Video
You can save time during the shoot by having a good plan i.e. a shot plan. Think of the consumer receiving your DIY product. Write out the product steps without using technical terms. Expand on the steps by writing the voice over script for your narrator. In the sidebar make a note what video is captured, graphic or still photo will be used to show each step- this is your shot list.
Go over your script and shot list several times and have other staff review it. When your shot list is nearly complete, send it to your videographer for input. It has to be clear in the videographer’s mind too so he/she knows your vision and what needs to be video recorded.
Prepare For The Video Shoot
Ensure all the supplies you need are readily available on the shooting ‘set’. Check the set to make sure it’s tidy and any unwanted or distracting elements are removed since you wish to focus on your product. Determine who will be in your video; yourself, a staff member, extras or even actors. Depending on the type of video you are shooting and its final destination you may require signed releases. Your videographer can help with this detail.
Record High-Quality Audio
If you are recording audio sound it is imperative to control ambient noise since sensitive microphones will capture noise in your video. Viewers are less forgiving of poor audio than poor video. Traffic noise, a noisy fan, air conditioner, plant equipment or even buzzing fluorescent lights can add audio noise and ruin your masterpiece. Sometimes ambient noise is good since it can add authenticity to a location for a DIY video but it’s usually best to minimize noise.
Good Video Needs Good Lighting
Good video requires lots of light- more than photography. For this reason, your videographer will want to know what artificial or natural light is available at the shooting location. The videographer will usually have an arsenal of lights to handle any kind of accessory lighting required.
Consider Professional Narration
DIY videos can be narrated by a host or a voice-over narrator. A host narrator can work very well and be convincing but let’s face it- not everyone can narrate well on-camera. If you prefer having a host a good script can be extremely useful in shortening the number of takes. A teleprompter can be a helpful tool and need not be expensive. There is an iPad app that works great as a teleprompter and reduces the of narration ‘takes’.
Voiceover narration can often be the preferred route for DIY videos. You can create a shot list and script, capture the footage, perform a rough edit then tweak your script to match your footage. Leaving the voiceover narration to the very end can save a lot of headaches trying to match up footage with audio. The final script can be sent out for audition to one of several services on the web. Professional radio/TV voices can be hired for as little as $150 US for a 5 minute video.
Editing Your Video
Your videographer may also be your video editor. In this case he/she will already have a good idea of your video vision. You will probably have input at two or more stages in the editing process- the rough or medium cut and certainly the fine cut. Your videographer will want to know the final use of your video too. Will it be destined for YouTube, Vimeo or PowerPoint? Encoding is different for each however once your video is produced in 4K or HD it can be encoded for virtually any use.
Adding Music to Video
Well timed, edited music can add a professional touch to any video and create the mood you need to convey your message. Long gone are the days when you can edit a song from iTunes into your video. Copyright laws are more strict than ever. YouTube videos with copyrighted music may get covered with ads or banned outright. The better solution is to allow your videographer to seek royalty-free (or royalty-paid) music which is legal and will not get banned on the Internet. There are 10’s of thousands of tracks available- one will be perfect for your video at reasonable cost.
Additional Information
Always include information in your video where the DIY enthusiast can find additional help. The video can cover the high points. Detailed information provided as a pdf or FAQ section on a website, forums, or support line can create better customer loyalty, referrals and repeat business.
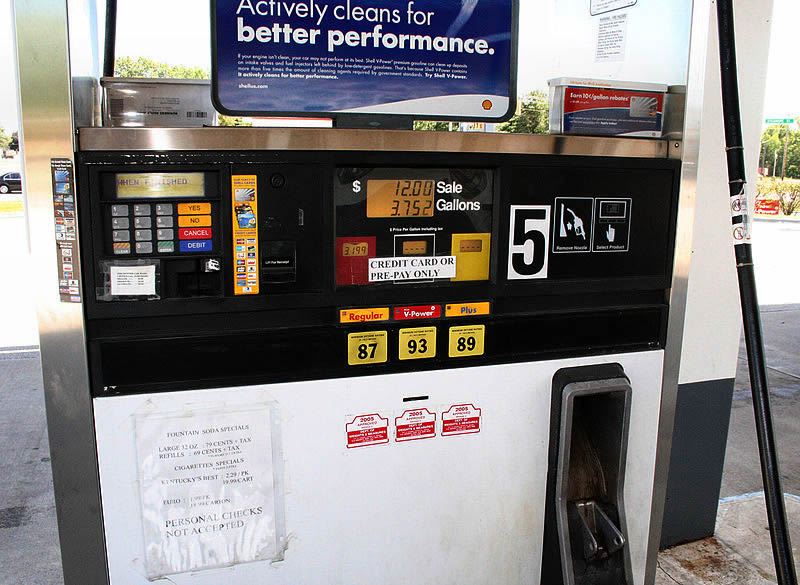
I travel a lot in the US especially when I wish to add to my stock video footage library I sell on Pond5.com. One of the most frustrating things I found was using self-service gas bars and not being able to use my Canadian credit card at the pump because most of the pumps ask for a Zip Code for authorization. Unfortunately the US pumps don’t recognize Canadian postal codes.
In the past I had to go inside the gas bar, wait in line, then pre-pay for gas or they wanted to hold my credit card while I pumped gas- not a good idea. I read a blog post by someone a few months ago on how to bypass the zip code request. I tried it dozens of times and it has never failed.
Just do this: swipe your card as normal at the pump. When it asks for your zip code, key in the number digits of your postal code followed by zeros to make up 5 digits (there’s 5 digits in a US postal code). For example, my postal code is K0H1K0 so I key in the zero, the one and the last zero. Then I add 2 zeros at the end to make up 5 digits: 01000. Then hit Enter if it requests it. Another example, if your postal code is A2B3C4 you enter 23400 plus two zeros and hit Enter. That’s it!
PS. Credit card companies don’t guarantee this will work in every pump but it’s worth a try.
It is very important to have inbound links to your website in order to improve your search engine rankings. Think of inbound links as ‘likes’ on Facebook- the more you have, the more important the search engines think your website is however, there is a caveat. It used to be you could not get enough inbound links. Quality links are more important than sheer numbers. Having a high number of inbound links from meaningless directories can actually have a negative effect on your search engine rankings. Here is a selection of high quality web directories for Canadian websites. Submit your site for free and enjoy quality inbound links:
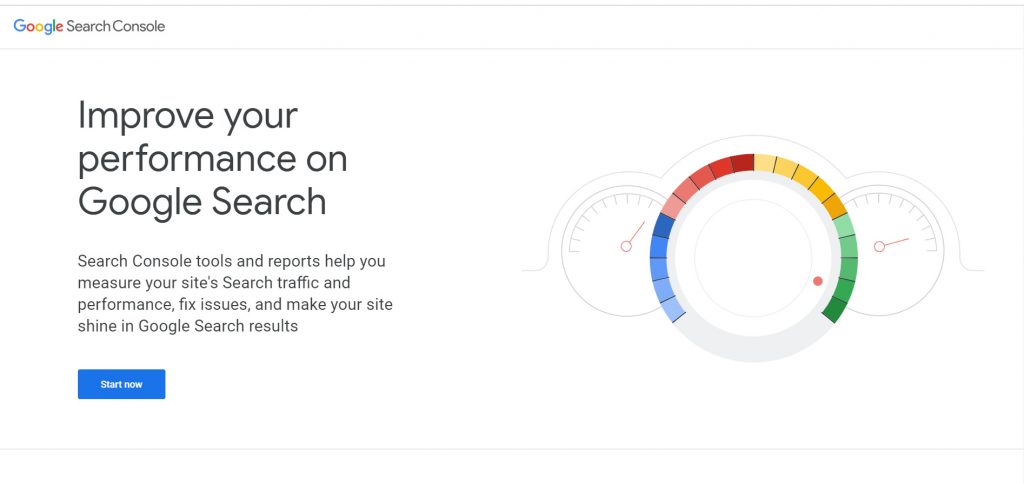
1. Google
If you haven’t submitted your site to Google already, here is the sign-up page. Use all of Google’s free services to help increase your business listing’s ranking on this most powerful search engine. Use the above link to sign-up to Google then create a free listing in Google Places for Business and create a Google+ Business Page. Don’t forget to submit your sitemap through Google Webmaster which connects through the Google Search Console.
2. Bing
One of the 3 major search engines, submit your site here. Submitting your site to Yahoo! is also done through Bing so this is an important site submission you don’t want to miss. Don’t forget to submit your sitemaps through Bing Webmaster Tools.
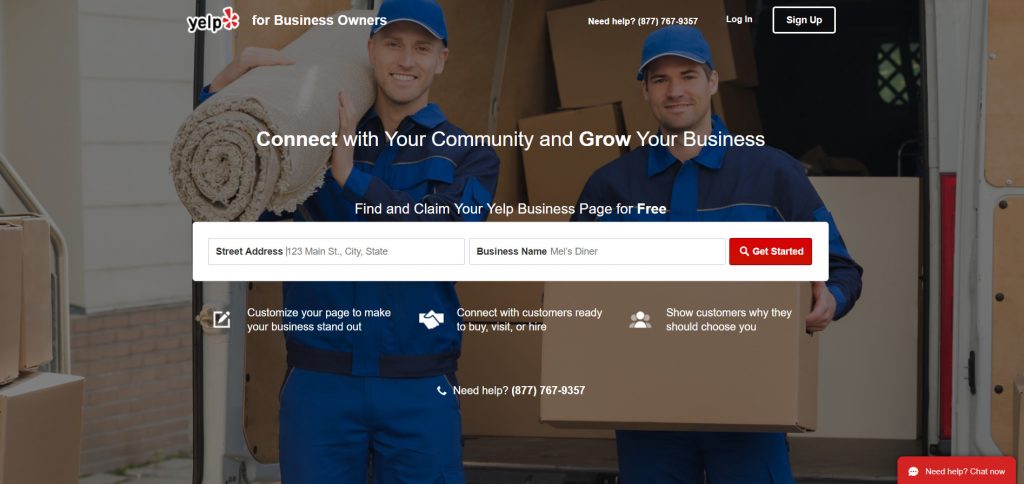
3. Yelp Canada
This is a great place to list your site and receive input about your business from customers. Sign-up here: https://biz.yelp.ca.
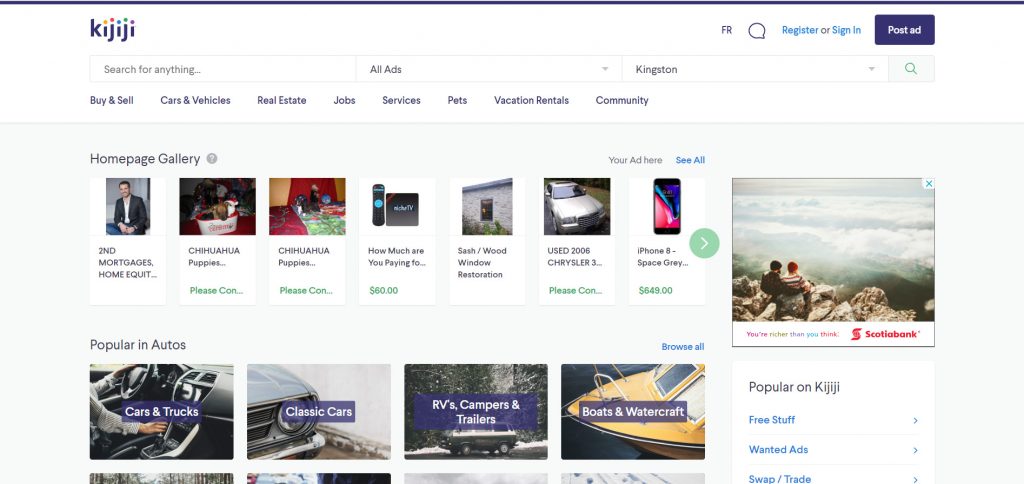
4. Kijiji Canada
I’ve used Kijiji for years to create a quality inbound link to my website. Posting an ad about your business is free and will expire after a few weeks but you can repost the ad for free. To add your web url (very important) Kijiji charges a small fee- around $5.00 US. It’s worth it for this quality link. Sign-up and create your first ad here: https://www.kijiji.ca.
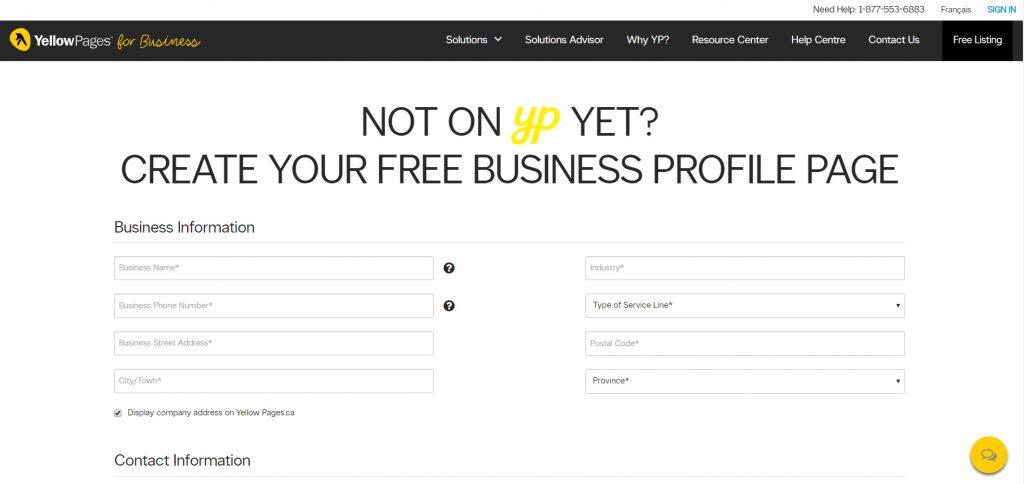
5. Yellow Pages for Business Canada
Yes, you can get a free listing without paying for Yellow Page advertising. Here’s the sign-up page.
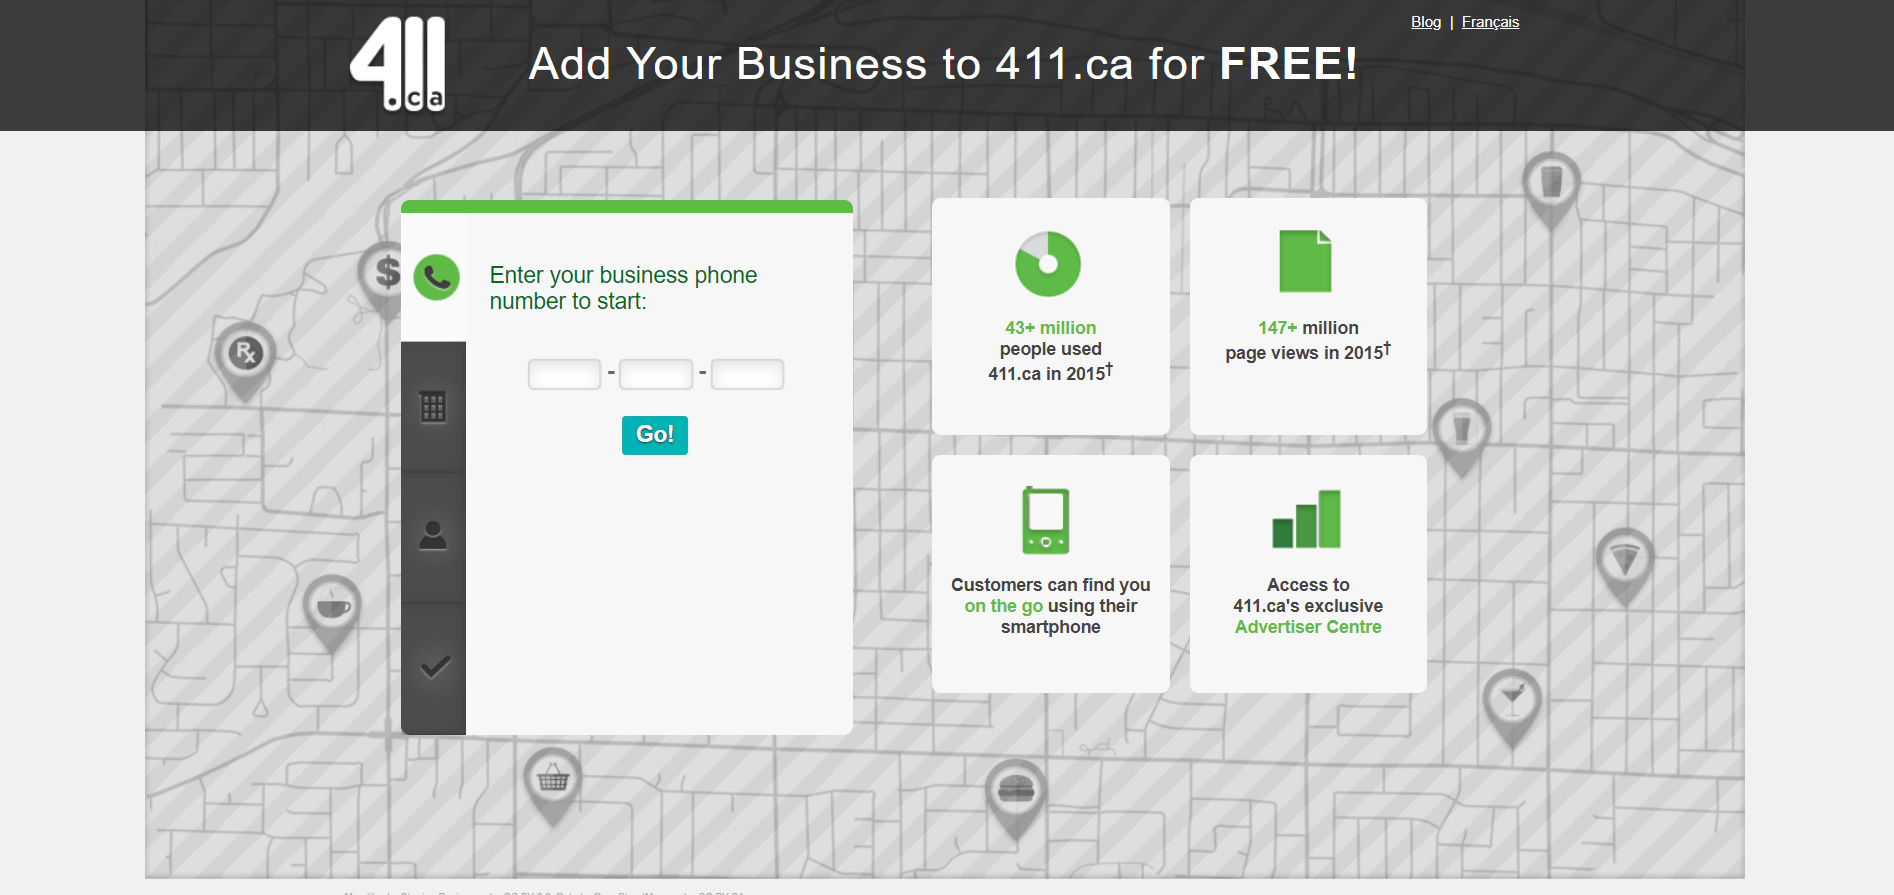
6. 411.ca Canada
Another place to get a free listing. Sign-up and create your listing: Sign-up here.
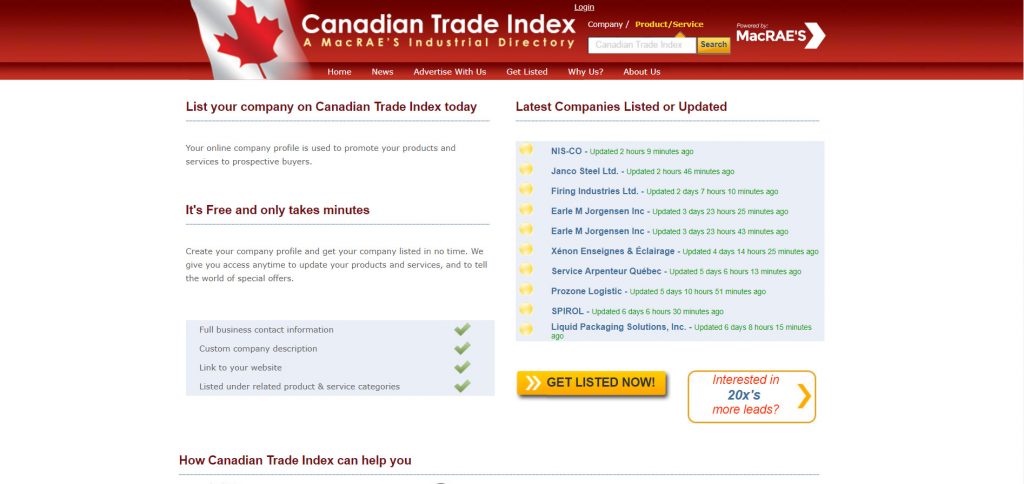
If you are a manufacturer this is an important location for listing your business. By submitting your business you can receive a powerful inbound link. If you are not a manufacturer you still may be able to create a free listing. Sign-up and create your listing: Create your listing here.
As a Videographer and Video Editor I frequently need professional voiceovers. Typically, I use Voices.com – a service that lets me upload a script, select preferred criteria for the voice such as gender and age, and receive auditions. A final script is uploaded and I usually select a paragraph and ask the voice artists to audition the paragraph so comparison is easier.
I quite often receive over 100 auditions for any script over a period of 2-4 days. As you can imagine competition is fierce. I short list the auditions to the best 5-10 and send the auditions to my clients for final selection. Any one of the short-listed auditions will do the job nicely.
As a potential customer I have some tips for voiceover artists, particularly new ones breaking into the business. It surprises me how many auditions are actually poor quality. Your audition must be perfect and high quality to be considered for the job (as I said earlier the competition is fierce). Ensure the following:
Your audition must be void of background noise and hissing/hums. You would be surprised how many I delete right away because of poor quality. If your audition isn’t ‘clean’ your pro-narration may not be ‘clean’ either, so I won’t select you for the job.
Take the time to audition the paragraph selected by the Client (me). All too often I receive demo clips with music or past ads. While these are nice, I never select these auditions. Record my paragraph or don’t bother replying.
Make sure your audio is the correct audio level – not too loud to blow my headphones off and not too soft so I need to turn up the volume. When I receive a pro-narration I wish to insert it into my video editing program at zero db then fine tune it. Your audition should be at the proper level.
Voices has a ratings system. I submit my budget for the project when I post the job. If my budget is $250-$500 for a couple minute voiceover I have never picked an offer over budget. This is especially true when the artist is not rated. This is even more true when the audition is not clean and perfect. The highest priced audition in my experience does not necessarily indicate highest quality.
Hopefully these tips will help artists get more jobs and not be deleted from the audition list at first pass!
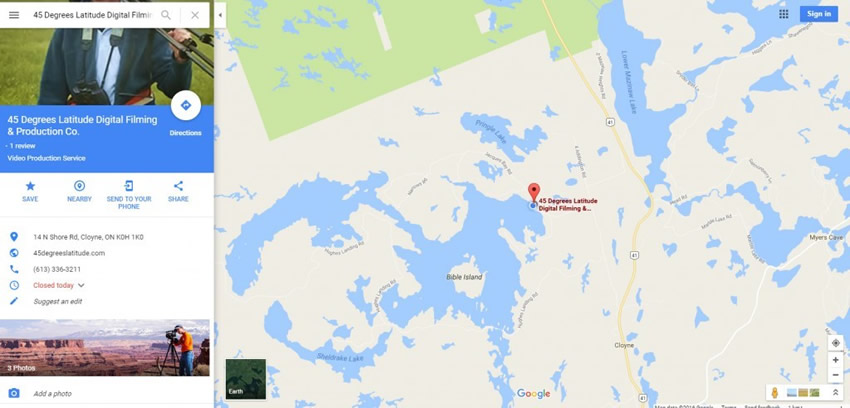
I recently purchased a responsive web template but wanted to include a Google Map of the website business being promoted. I wanted the Google Map to be responsive just like the site. Here’s how to do it in a few steps.
Go to Google Maps and search for the business and position the map the way you want it (see image above). To the left you will find a blue ‘share’ icon. Click on the icon to reveal the panel below. Notice I selected the ‘Embed map’ tab at the top. Again, position the business location as you wish it to appear on your site. It works best to center your business. You will need the iframe source code as it appears so keep your Google Map open.
Copy the iframe source code completely and paste it below where shown.
Next, copy the code above and insert it into your page where you wish the Google Map to appear.
One other adjustment is the upper blue line of code which I set at 50%. This is the aspect ratio. You can change this figure to your liking for example, if you wish to decrease the vertical dimension of the map, decrease the 50% to say, 40%. If you wish a wish to increase the map’s vertical dimension increase this to 75% or so. Tweak to your liking.
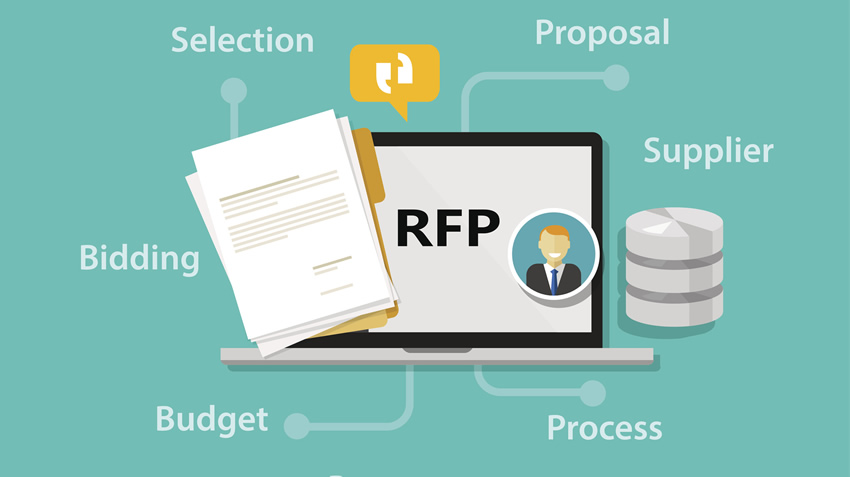
You’ve decided you need a company video and need to hire a video production company. Unless you know exactly what you want and how you want it produced, choosing a production company can be a daunting process. Issuing a request for proposal (RFP) can be the best means of sourcing video production talent if you are looking for input from experts – some new ideas on how best to convey your message.
By giving the production company details in key areas you will be providing necessary information needed for a meaningful quote.
Required Information For Your RFP.
1. In your RFP give a brief outline of the video purpose – to generate more web leads, to educate viewers about a new product or process, to create excitement around a new product launch, etc. This will help the video company identify your goals and objectives.
2. Give an estimate of the length of the video. Remember, less is more, particularly with web video. Intro company promo videos are best kept 2-3 minutes long. Educational videos can be longer but always keep in mind the video should be focused and hold the viewers’ attention. If you want your video to cover two distinct topics consider creating two separate short videos. Providing the video length(s) will give the producer information needed for quoting.
3. Specify the shooting location – your office or plant or do you require a studio?
4. What is the required style of your video? The video could be a product demo, testimonial interviews, message from the President, product comparisons…detail as much as you can.
5. Who will be in the video? Staff members, plant employees, satisfied customers, professional actors?
6. Do you require professional narration or will company employees provide the dialogue and narration?
7. What is your timeline? When do you need the finished product?
8. What are the deliverables? Blu-ray, YouTube, Broadcast, DVD or a combination of formats?
9. Do you have a budget in mind? This may sound at first like you are opening a Pandora’s box, however, if you envision a video with high production quality but don’t give details that would lead the producer to this conclusion the producer may quote on a production level that doesn’t meet your expectations. One way around this is to ask for production value options. For example, with a budget of $2000 (or less) what can you provide? What can you provide for $4000 or $10000?
Always suggest how you want the RFP response structured. For the sake of comparing responses you may ask the quoted price stated in the cover page. You may have a detailed list of information required in a particular order such as: Cover Letter, Contact Information, Production Crew, Project Production Strategy, Work Plan, Relevant Project Experience, 3 Customer References, Detailed Quote, Link to Demo Reel.
Always state the RFP closing date and time for responses, how responses must be delivered (hard copy, email or both) and that late responses will not be considered.
Have you seen a video style you really like? If so, provide a link so the Producer can get a better idea of what you want.
What To Ask For Larger Projects.
1. A Video Treatment. A treatment is a statement of the project showing that the producer understands what you want to achieve with your video and gives a summary how the video will be created.
2. A detailed work plan showing milestones at definite dates that you provide.
3. Equipment list. This may help you determine which producer has the better tools to do the job. If you or a member of your RFP team are not familiar with video/photographic equipment this could be meaningless information. Keep in mind many professionals do not own all their equipment – they rent it to keep pace with the newest and latest available. You could ask what equipment they would use and how this would add to the overall production level of the project.
4. Risk Mitigation. Identify the possible areas of risk and what plans will be in place to minimize risk. This could cover crew replacement in case of illness, unfavourable weather conditions and if something happens, ‘what is Plan B’?
5. You can even state your scoring system for responses, for example 20% for experience with similar projects, 20% project cost, 20% customer references, 20% demo reel, 10% completeness of response, 10% understanding of project and quality of response.
What To Look For In A RFP Response.
1. Did the producer complete the response in your required format? If the response is incomplete, did not arrive before the deadline or not in your stated format? This should speak volumes.
2. Has the Producer worked on similar projects? Do they have some knowledge of your company, product or service? Does it appear they researched your company before they created a written response – did they do their homework?
3. Examine their video treatment, strategy and work plan. You are hiring professionals who can bring you fresh ideas. A producers’ creative talent is their greatest asset. How can they apply it to your project?
4. Check out the quality of online demos and other projects. This should rank high on your scoring grid.
You can easily export (or freeze) frames of video and save them as a still image with a free application called MPEG Streamclip by Squared 5. It’s a free download and is available for Mac and PC users at www.squared5.com.
Editors note: Google ‘MPEG Streamclip’ for a download link but beware the site has no SSL certificate (no https). I downloaded the app years ago and have had no problems.
Once you download and install the program you must first import your movie. Open MPEG Streamclip then select:
1. File> Open Files> and select your movie.
2. Play your movie and pause it when you get to the frame you wish to save as a still photo.
3. Select File> Export Frame.
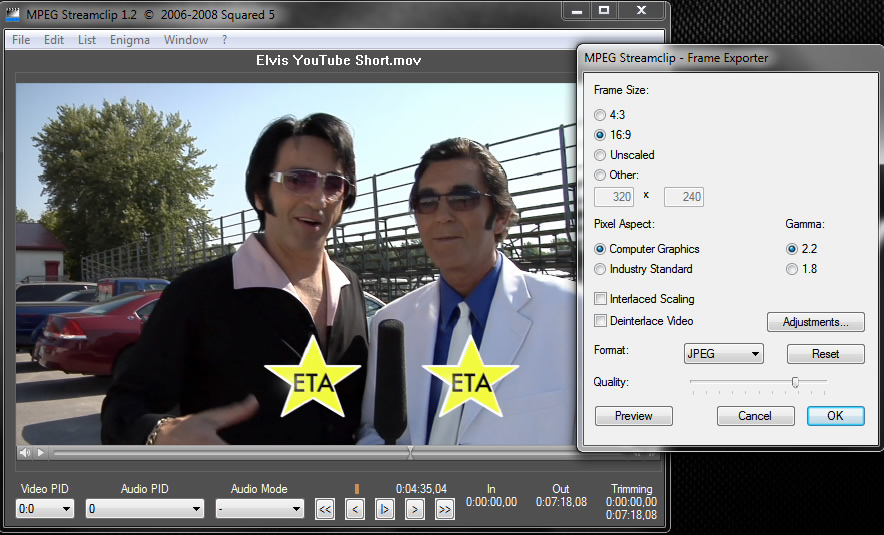
4. The Frame Exporter window will appear (see photo above) loaded with options. You can select 4:3 or 16:9 format (widescreen). You can custom size your exported image by selecting ‘Other’ and keying in the image size you want.
5. If your video is interlaced (such as 720x480i) you can select ‘deinterlace’ to remove fuzzy horizontal lines. If you have HD video such as 720p you can leave blank since this video is progressive and doesn’t need deinterlacing.
6. You can make many adjustments to the photo by selecting Adjustments. Brightness, Contrast, Saturation can all be fine-tuned here. Volume adjustment is used when converting video files so leave this unchanged.
7. A preview window is available to see your photo adjustments.
8. Select your desired quality. Remember- higher quality results in larger file size. Here we are dealing with single frames of video so file size is not usually a problem. Also select JPEG, TIFF or PNG.
9. Select OK and where you wish to save the final still image…that’s it!
MPEG Streamclip can do a host of other functions like converting video files into other formats. But if you are looking for a fast and easy way to freeze video frames this is a great way to do it, inexpensively. If you are looking for photos for the web the exported photos are usually high enough resolution to work fine!
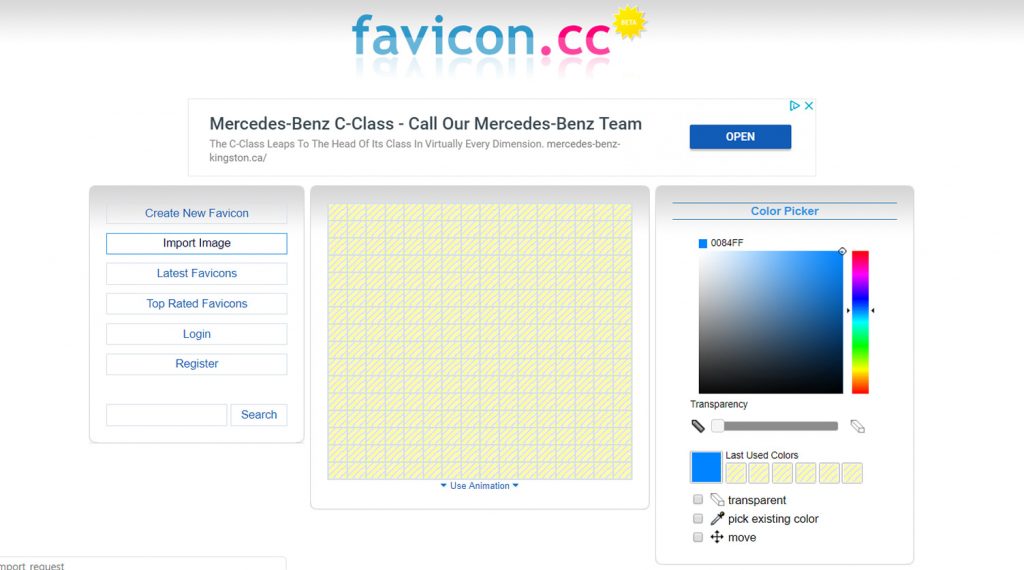
The debate is still out whether or not a favicon helps your SEO. Some specialists think it may give you a small SEO boost while others disagree. It does help with your branding and may even build credibility and trust to your site. Apparently it does no harm so let’s create one.
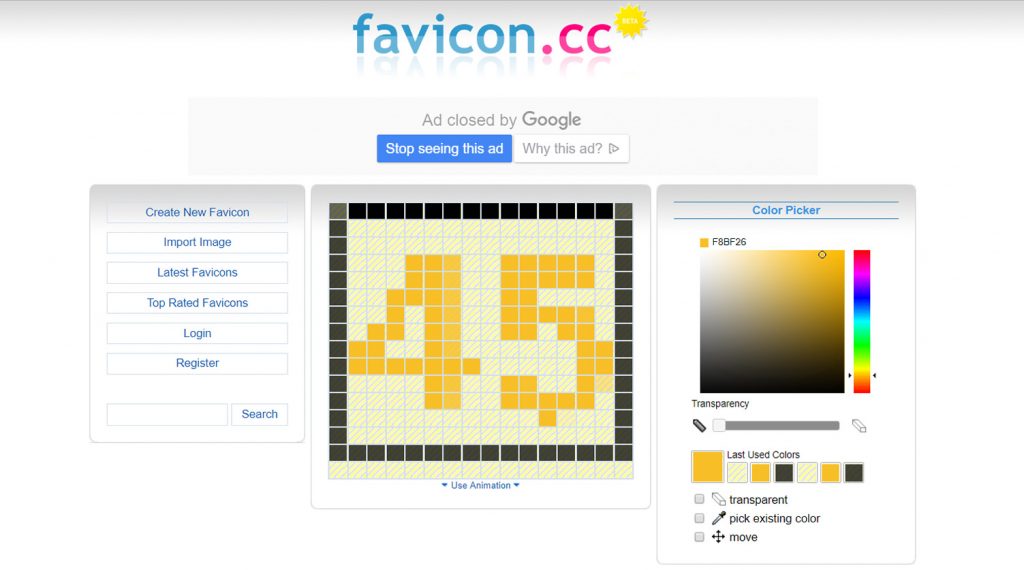
Favicon.cc is a site that allows you to create a free favicon without even registering. Follow the easy instructions: Create New Favicon> Import Image. However, before you Import your image you need to create it. In this example I am creating a simple ’45’ for use on my site. I included a black border which was created in Fireworks since the background on Explorer is grey and it shows up better. However, the background on Chrome is black so it doesn’t show at all. You may wish to keep these background colours in mind when designing your favicon.
Create a Favicon
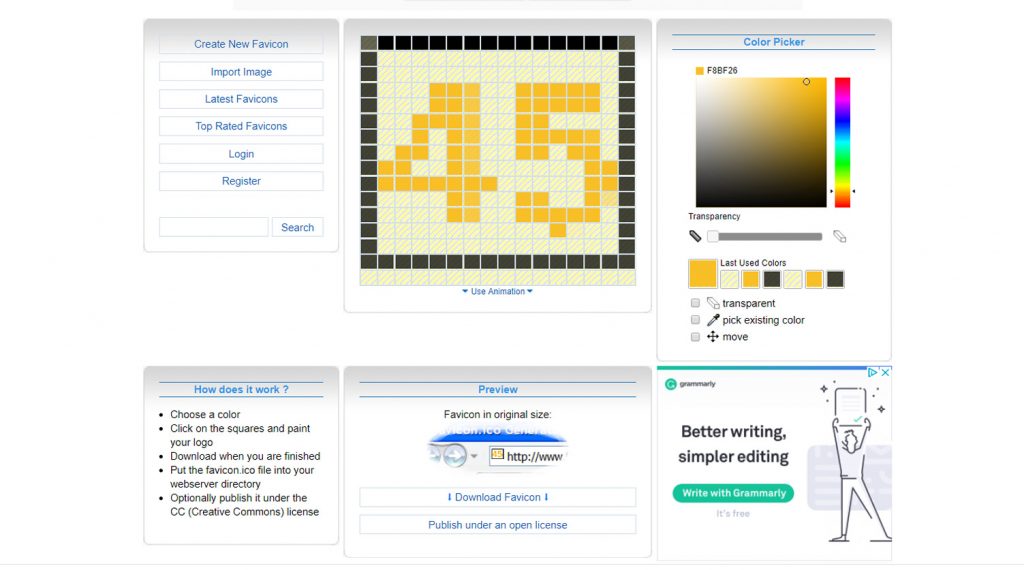
You can create your image in any editor such as Fireworks or Photoshop. Create a square image 200 x 200 pixels. Keep it simple because the final generated favicon for your site will only be 16 x 16 pixels. Save your image to Desktop. Now you’re ready to Import it to Favicon.cc. If the image created is square you can select ‘Keep Dimensions’. Click Upload. You can now edit your image within favicon.cc however if your image was fine in your editor it should not require any further editing. A Preview palette is below which shows what your new favicon will look like preceding a url. Once you’re pleased with the results click Download and save it. Give the file a short name like ‘favicon’. The favicon will be saved as a .ico file.
Install Favicon On Your Website
First, upload the tiny favicon.ico file to your website. In most cases you need to upload the .ico file to your website’s main directory (the public_html folder). It will now appear along your other html files. Don’t put the file in your images folder. Next, insert this code in every one of your html pages you wish to display the favicon:
Replace the favicon.ico file name if you saved your image as something other than ‘favicon’. Insert the code in every page between the Head tags. I put mine immediately underneath the title tags. If you have a dynamic header you may need to insert the code only into the index page. Save and Upload your pages and test. Clear your browser cache to see the new favicons. That’s it!
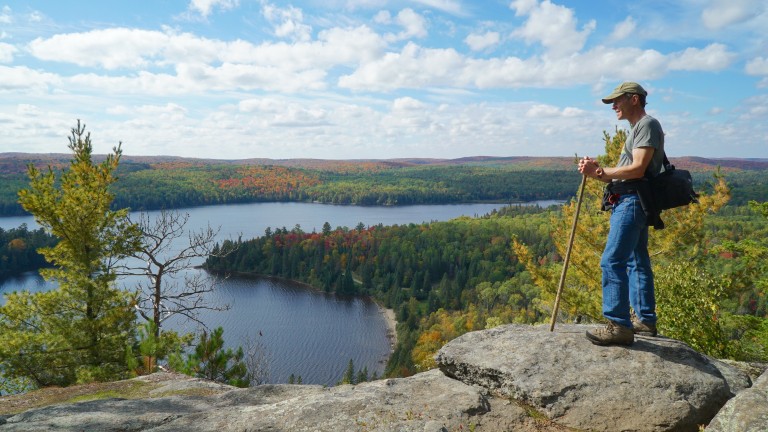
The Centennial Ridges Trail in Algonquin Park is one of the best trails for sheer numbers of pristine lookouts. Photographers flock here for amazing vistas overlooking lakes and rolling highlands. One of the most popular times is during the fall colour season. Timing of peak colours is best handled by frequently checking the Algonquin Park Fall Colour Report. Usually it’s the first week of October (give or take) depending upon weather and drought conditions.
The Centennial Ridges Trail is a tough trail especially if you are carrying photographic equipment and you are hiking the trail during hours to catch the morning sun or sunset. The entire trail is 10 km and I think it might be the toughest 10 km I’ve ever hiked. The guidebook says allow 6+ hours although my wife and I hiked it 4 hours with frequent photography stops. The guideposts are numbered 1 to 12. Two of the best (and most accessible) lookouts are near the start and near the end of the trail at guideposts 2 and 11. The hike is approximately 1 km to guidepost 2 and 1.5 km to guidepost 11. If time is short and you wish a quality vista shot check these two spots first. If time allows, hike the entire trail. Wear good footwear since often times the rocks are slippery.