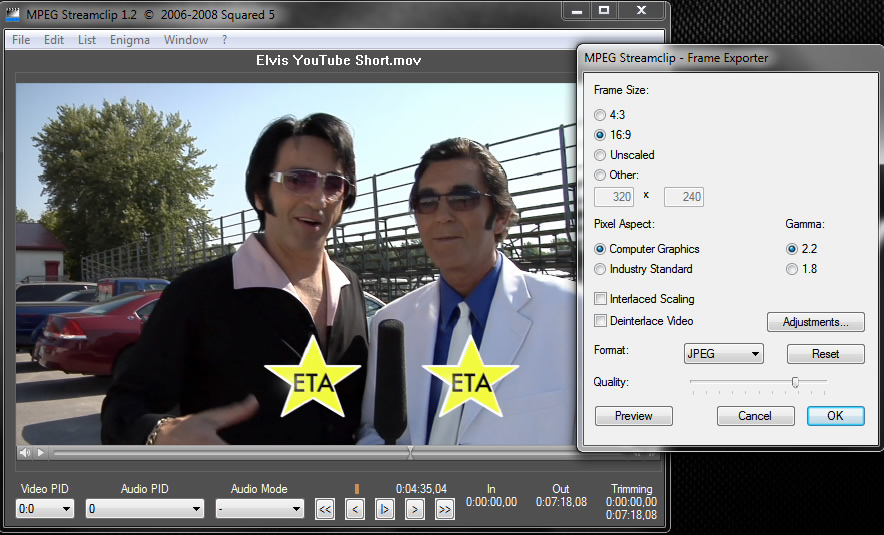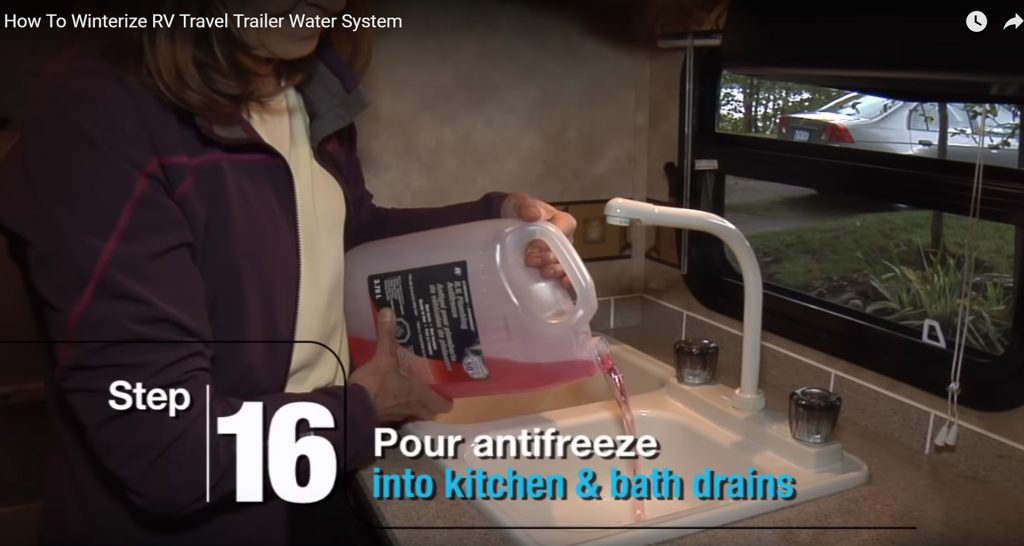
Do-it-Yourself (DIY) videos are a popular medium to educate customers on assembling or using products. Everyone likes to save money. If a DIY product can save a consumer money and it can be explained in video you will have a better chance expanding your customer base. Here are some tips in planning your video to make video recording and editing efficient. An example of a DIY video is “How to Winterize Your Travel Trailer” on YouTube.
Note: This video is monetized and is a good example how your time creating a video can be financially rewarding.
Plan Before Shooting Video
You can save time during the shoot by having a good plan i.e. a shot plan. Think of the consumer receiving your DIY product. Write out the product steps without using technical terms. Expand on the steps by writing the voice over script for your narrator. In the sidebar make a note what video is captured, graphic or still photo will be used to show each step- this is your shot list.
Go over your script and shot list several times and have other staff review it. When your shot list is nearly complete, send it to your videographer for input. It has to be clear in the videographer’s mind too so he/she knows your vision and what needs to be video recorded.
Prepare For The Video Shoot
Ensure all the supplies you need are readily available on the shooting ‘set’. Check the set to make sure it’s tidy and any unwanted or distracting elements are removed since you wish to focus on your product. Determine who will be in your video; yourself, a staff member, extras or even actors. Depending on the type of video you are shooting and its final destination you may require signed releases. Your videographer can help with this detail.
Record High-Quality Audio
If you are recording audio sound it is imperative to control ambient noise since sensitive microphones will capture noise in your video. Viewers are less forgiving of poor audio than poor video. Traffic noise, a noisy fan, air conditioner, plant equipment or even buzzing fluorescent lights can add audio noise and ruin your masterpiece. Sometimes ambient noise is good since it can add authenticity to a location for a DIY video but it’s usually best to minimize noise.
Good Video Needs Good Lighting
Good video requires lots of light- more than photography. For this reason, your videographer will want to know what artificial or natural light is available at the shooting location. The videographer will usually have an arsenal of lights to handle any kind of accessory lighting required.
Consider Professional Narration
DIY videos can be narrated by a host or a voice-over narrator. A host narrator can work very well and be convincing but let’s face it- not everyone can narrate well on-camera. If you prefer having a host a good script can be extremely useful in shortening the number of takes. A teleprompter can be a helpful tool and need not be expensive. There is an iPad app that works great as a teleprompter and reduces the of narration ‘takes’.
Voiceover narration can often be the preferred route for DIY videos. You can create a shot list and script, capture the footage, perform a rough edit then tweak your script to match your footage. Leaving the voiceover narration to the very end can save a lot of headaches trying to match up footage with audio. The final script can be sent out for audition to one of several services on the web. Professional radio/TV voices can be hired for as little as $150 US for a 5 minute video.
Editing Your Video
Your videographer may also be your video editor. In this case he/she will already have a good idea of your video vision. You will probably have input at two or more stages in the editing process- the rough or medium cut and certainly the fine cut. Your videographer will want to know the final use of your video too. Will it be destined for YouTube, Vimeo or PowerPoint? Encoding is different for each however once your video is produced in 4K or HD it can be encoded for virtually any use.
Adding Music to Video
Well timed, edited music can add a professional touch to any video and create the mood you need to convey your message. Long gone are the days when you can edit a song from iTunes into your video. Copyright laws are more strict than ever. YouTube videos with copyrighted music may get covered with ads or banned outright. The better solution is to allow your videographer to seek royalty-free (or royalty-paid) music which is legal and will not get banned on the Internet. There are 10’s of thousands of tracks available- one will be perfect for your video at reasonable cost.
Additional Information
Always include information in your video where the DIY enthusiast can find additional help. The video can cover the high points. Detailed information provided as a pdf or FAQ section on a website, forums, or support line can create better customer loyalty, referrals and repeat business.
If you need help with a DIY video you can contact us here: https://45degreeslatitude.com/contacts.html